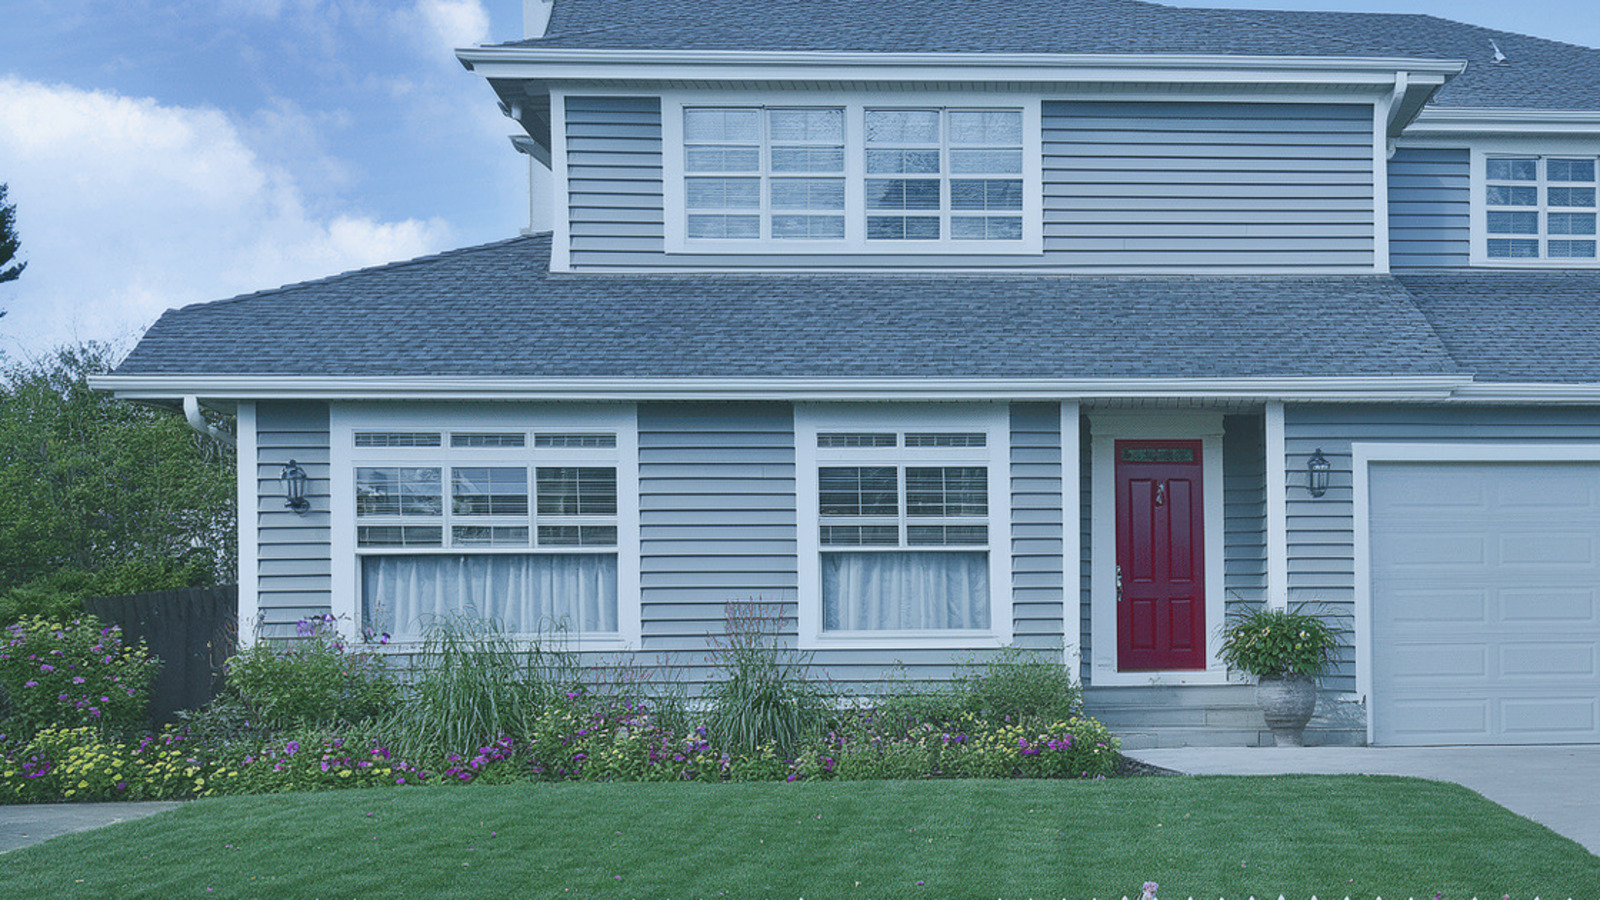
Short answer: Make the entry clean, deliberate, and easy to read in one photograph; then use an honest exterior sequence that shows buyers how the property actually arrives from the street.
Curb appeal is not just landscaping. For an agent, it is the handoff between the physical property and the first listing image. The National Association of REALTORS® reports that 52% of buyers found the home they ultimately purchased online, while 81% rated listing photos as the most useful website feature. The exterior therefore has two jobs: reassure a buyer at the curb and survive the much harsher test of a small search-results thumbnail.
The lead photo is the curb-appeal test
A buyer does not initially study the roofline, count the windows, and admire the planting plan. They register one quick impression: maintained or neglected, clear or cluttered, welcoming or hard to understand. The lead image needs to make that judgment easy.
Stand across the street and look at the property through your phone before the photographer arrives. If the front door disappears behind shrubs, the bins dominate one edge, or a parked car blocks the approach, those problems will be stronger in the photograph than they feel in person. A lens compresses the scene. Small distractions become part of the composition.
Decide whether the exterior has earned the first position. A strong elevation with a visible entrance usually makes a useful lead. A townhouse hidden by cars, a unit whose entrance is not shown, or a home photographed in poor seasonal conditions may be better introduced by its strongest interior, with the exterior placed immediately after it. The point is not to follow a universal rule. It is to make the first two images answer, “What is this property, and why should I keep looking?”
Review the exterior at thumbnail size as well as full screen. Fine landscaping detail disappears when the image shrinks. The door, roofline, driveway, lawn, and large areas of contrast remain. Those are the elements that need to carry the frame.
Clear the frame before buying upgrades
The highest-return curb-appeal work often begins with removal, cleaning, and small repairs rather than new materials. Walk the front approach with three short lists.
First, remove what does not belong in the listing story. Move bins, hoses, toys, delivery boxes, loose tools, temporary signs, and extra vehicles out of the camera's view. Coil necessary cables neatly. Reduce porch furniture to the pieces that clarify how the space is used. A narrow porch with four chairs reads as cramped; the same porch with one chair and a planter reads as intentional.
Second, clean the large surfaces the camera will hold. Sweep the walk, edge the lawn, wash the door, clear cobwebs from the light fixture, and clean the front-facing glass. Pressure washing can help a stained path or siding, but it should be scheduled early enough for everything to dry evenly. Wet concrete and patchy siding can create a second problem on photo day.
Third, repair the small defects that sit near the entry. A tilted mailbox, loose downspout, missing shutter, dead bulb, or peeling strip beside the door can become the sharpest detail in a high-resolution photograph. Do not digitally remove a permanent defect and present the edited result as the property. Fix what can be fixed, disclose what must remain, and let the listing show the real condition.
Ask the seller to complete this pass at least a day before photography. That gives you time to check the result in daylight instead of discovering an unmoved trailer or a bag of mulch while the photographer is already setting up.
Put the small budget where the camera sees it
If the property needs more than cleanup, concentrate the budget around the entrance and the strongest sightline from the street. Scattered improvements rarely read as clearly as one finished arrival.
The front door is usually the most useful color and contrast decision. It does not need to be bright, but it should look deliberate against the siding and trim. Touch up chips, clean the hardware, straighten the mat, and confirm that the porch light matches the home's other exterior fixtures. If the fixture is dated but functional, a clean lens and working bulb may be enough. Replace it only when it is a genuine visual distraction.
Use landscaping to reveal the house rather than cover it. Trim growth away from windows, steps, and the door. Define the bed edges. Remove dead plants. Add mulch only where it will look even across the full bed; a fresh patch around one shrub can photograph like a repair. One or two planters can mark the entrance, but a row of identical pots often creates more clutter than rhythm.
Spend cautiously on improvements that will not appear in the listing frame. A new plant at the far side yard may be pleasant in person and irrelevant online. Before approving an exterior purchase, stand where the lead photograph will be made and ask whether that change improves the door, approach, or silhouette. If it does not, it probably belongs below a more visible task.
Photograph the exterior without overselling it
Good exterior photography organizes the property. It should not turn an ordinary house into a distorted wide-angle spectacle.
Start with a camera position that shows the entrance and enough of the front elevation to explain the building. A slight offset often gives the facade depth, but an aggressive corner angle can make the near wall look enormous and the far side disappear. Keep vertical lines upright. If the house appears to fall backward, the camera is too low, tilted too far, or corrected too aggressively afterward.
Choose light that preserves material color. Bright midday sun can cut the facade into hard shadow; late light can turn neutral siding orange. Thin cloud or a time when the front receives even light is often easier to edit honestly. The sky does not need to be dramatic. Buyers need to see the roofline, paint, masonry, steps, and planting without a heavy filter competing for attention.
Capture at least three purposeful exterior frames: the full approach, a closer view of the entrance, and the best secondary exterior feature such as a porch, patio, or rear yard. Each image should add information. Five nearly identical front elevations slow the gallery and make the rest of the property feel thin.
Editing should correct exposure, color, lens distortion, and temporary camera artifacts. It should not erase cracks, neighboring structures, utility equipment, or permanent obstructions. If a conceptual exterior change is shown separately, label it clearly as a visualization. The marketing image and the condition of the property should never become two different promises.
Build an exterior sequence that earns the interior
The gallery order should feel like a buyer walking the property with a competent agent.
If the full exterior leads, follow it with the cleanest interior proof point rather than another version of the same facade. A strong kitchen, living room, or view confirms that the promise continues inside. Return to the entrance detail later, alongside the porch, yard, garage, or outdoor living area it helps explain.
If an interior leads, place the front exterior second or third. Hiding it until the end can make buyers wonder what the listing is avoiding. For condos and townhomes, show the building entrance and identify which exterior amenities belong to the unit or community. For a property with acreage, establish the home first and then widen to the land; a drone image without orientation can make even a valuable setting difficult to read.
Keep captions and listing copy specific. “Freshly edged front beds and a covered entry” gives a buyer something visible to verify. “Unmatched curb appeal” asks them to accept a conclusion. Concrete language is more credible because the photograph can support it.
Before publishing, compare the exterior images with the property facts and disclosures. Confirm that seasonal photos are current enough to represent the listing, digitally altered elements are labeled, and no crop hides a material condition. A polished sequence should increase clarity, not reduce it.
A 15-minute agent review before the listing goes live
Run this final check on a phone, because that is where many buyers will first meet the property.
- The lead image is readable at thumbnail size.
- The front door or entrance is easy to locate.
- Bins, hoses, cars, tools, and temporary signs are outside the frame.
- Window, roof, siding, and driveway lines look straight rather than stretched.
- Color and exposure match the property instead of applying a heavy mood.
- The exterior sequence adds new information from one image to the next.
- Permanent defects and neighboring structures have not been edited away.
- Any conceptual or virtually altered image is clearly labeled.
- The listing copy names visible features instead of making unsupported promises.
Curb appeal works when the physical preparation, the photograph, and the gallery order tell the same story. Clean the arrival, make the entry the visual anchor, and show the exterior with enough restraint that buyers trust what comes next.
Frequently asked questions
What should an agent fix first for better curb appeal?
Start with whatever blocks or weakens the entrance: clutter, overgrown plants, dirty hardscape, a worn door, and small visible repairs. Clear and clean the existing frame before buying decorative upgrades.
Should the front exterior always be the first listing photo?
No. Use it first when it clearly identifies the property and makes a strong impression. If an interior is the better lead, place the front exterior second or third so buyers still understand the property early.
Want this done to your listing? Send it over and we'll build a free before/after — no call, no commitment: see the free preview.